
Grafting ends together to create a seamless fabric is one of my favourite knitting techniques. I use the Kitchener stitch to graft sock toes together all the time, and a few of my patterns use it for seamless seams, such as joining the applied i-cord in Nórui and underarm seams in Maethor. I thought a tutorial on how to do Kitchener stitch might be useful.
Kitchener stitch is used to graft two pieces of stocking stitch together and it creates a seamless join that is invisible from the rest of the stitches. That's why it is so great for sock toes - no seams to rub and cause blisters!

You will need a tapestry needle for this technique.
Set up
To set up for Kitchener stitch there are a couple of preparatory steps that stop the end stitches from being loose.
Step 1:
Arrange the stitches so that there are equal numbers of stitches on both needles and the wrong sides of the fabric are together. This gives you a front needle with stitches and a back needle with stitches.

Cut the yarn leaving a long tail (at least 3 times the distance to graft plus a 15cm/6in sewing in end) and thread a tapestry needle.
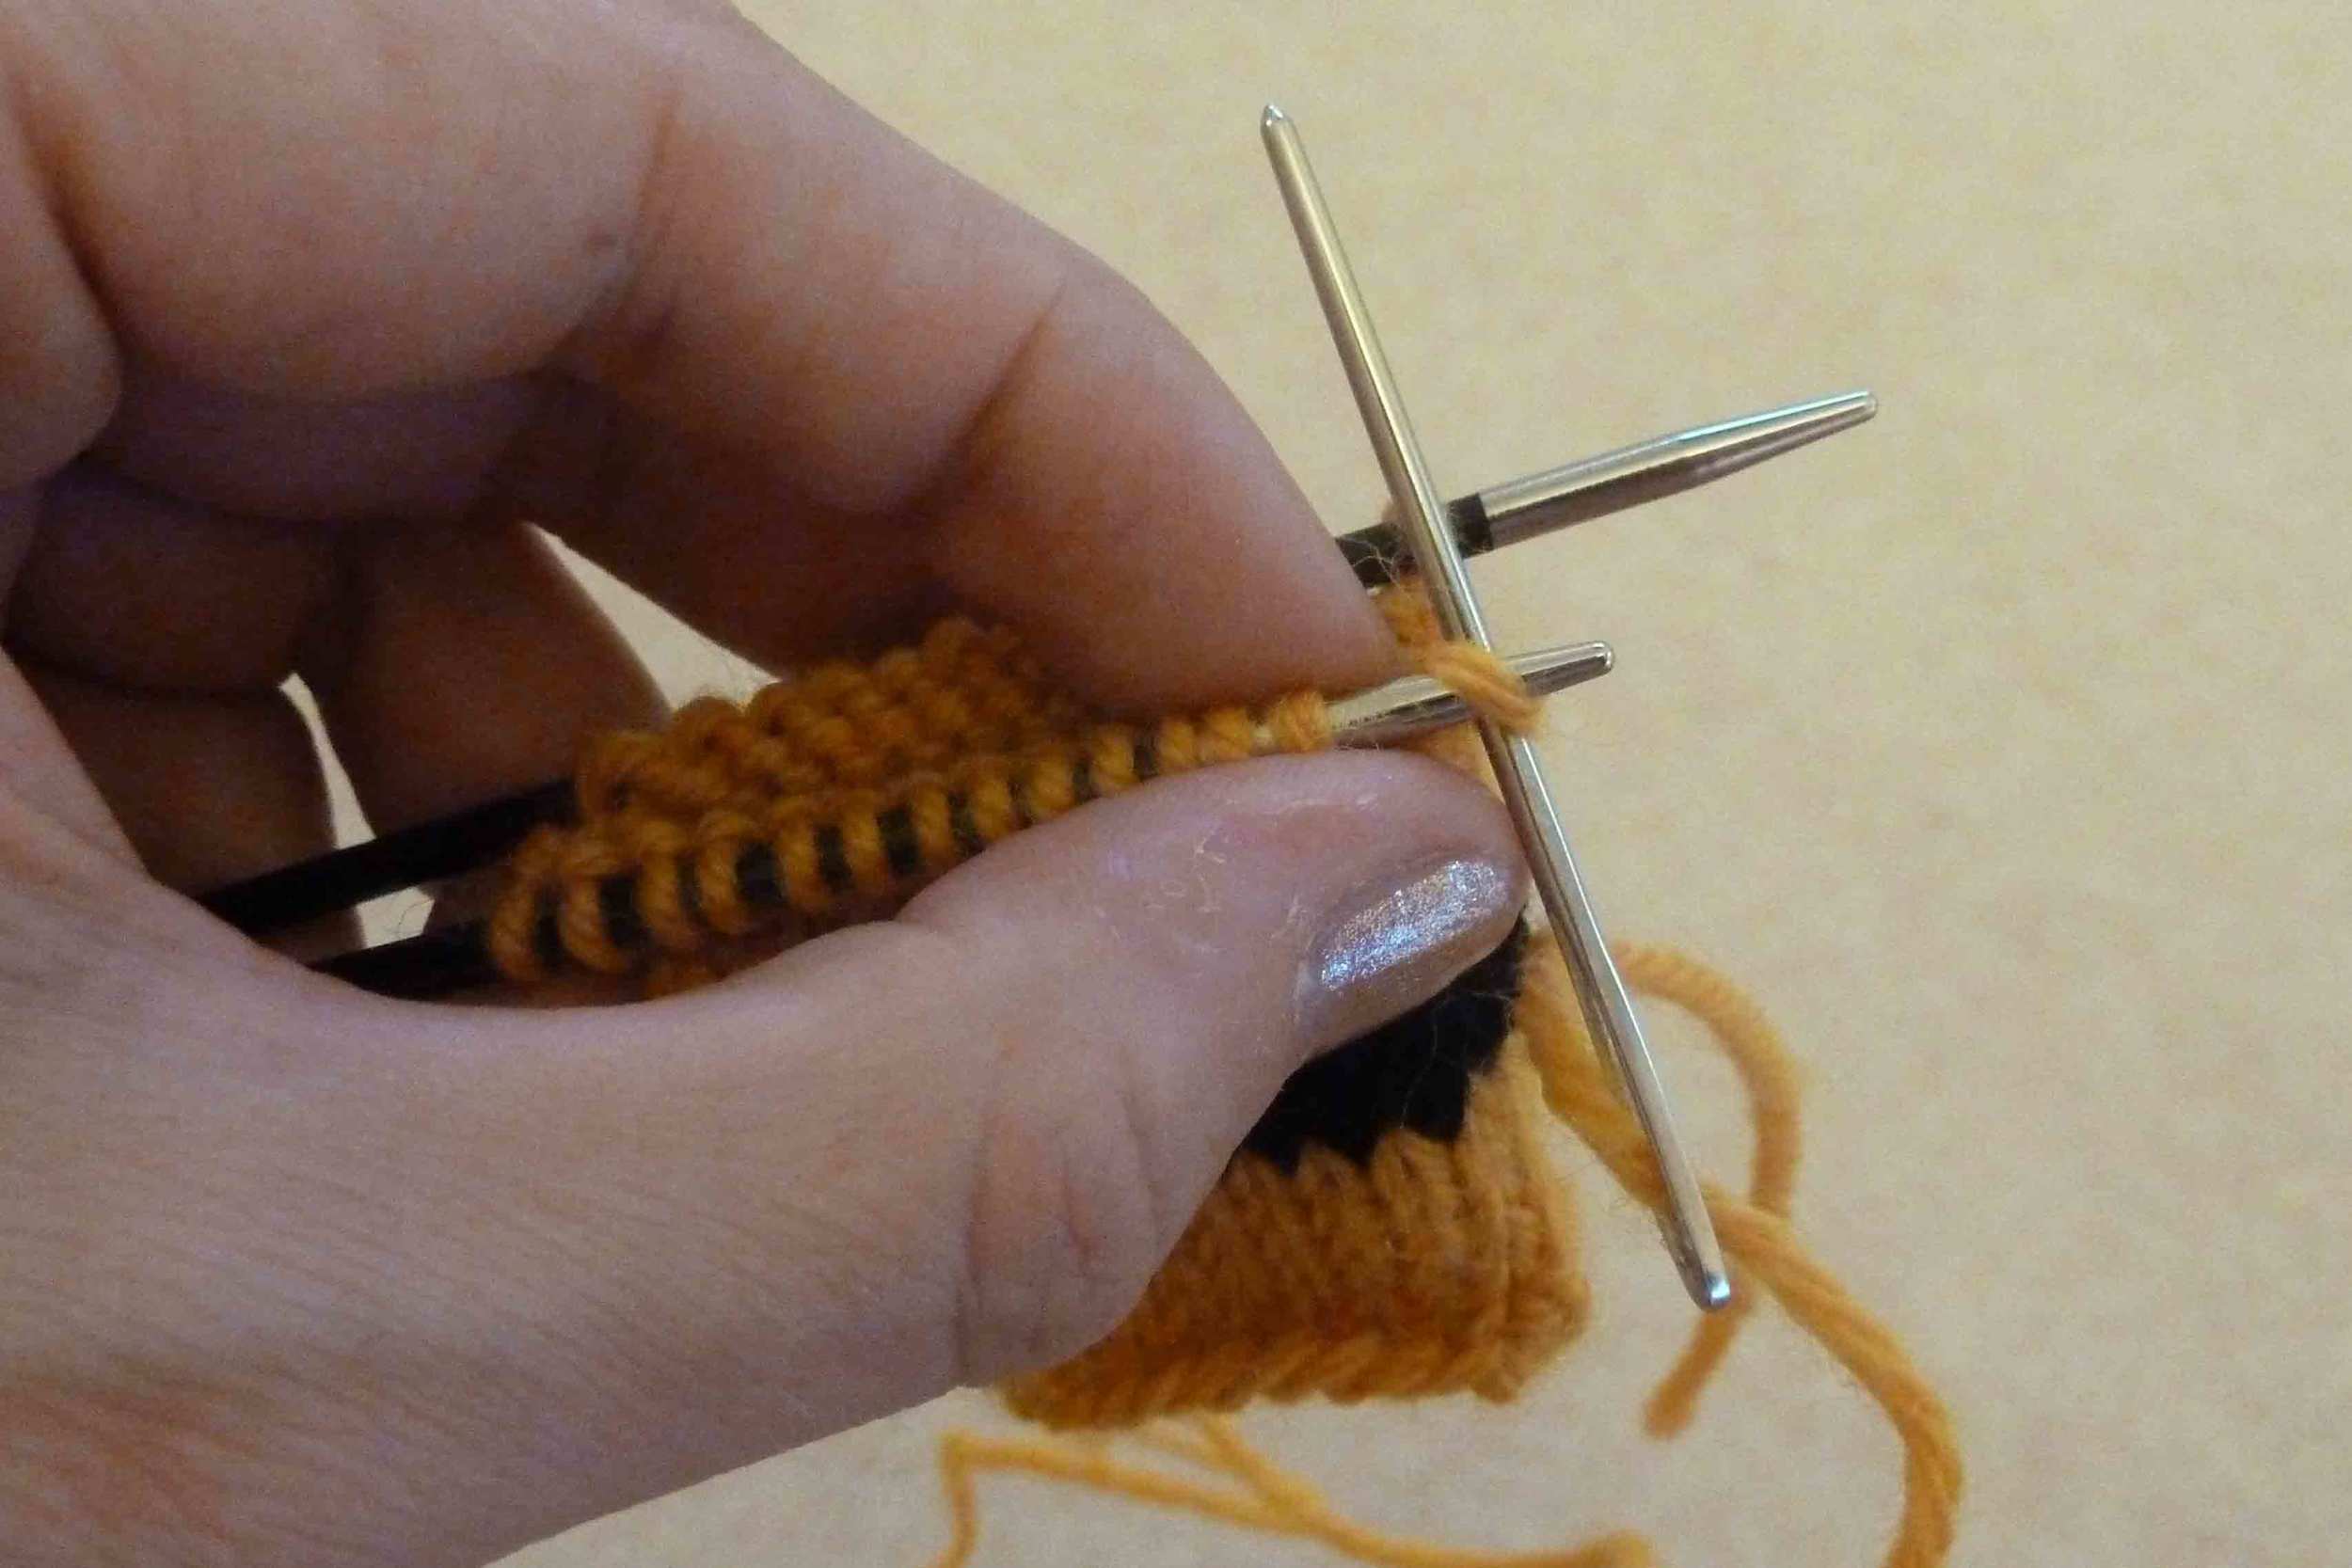
Step 2:
Insert the tapestry needle into the first stitch of the front needle as if to purl. Pull the yarn all the way through (not too tight) and leave that stitch on the needle.

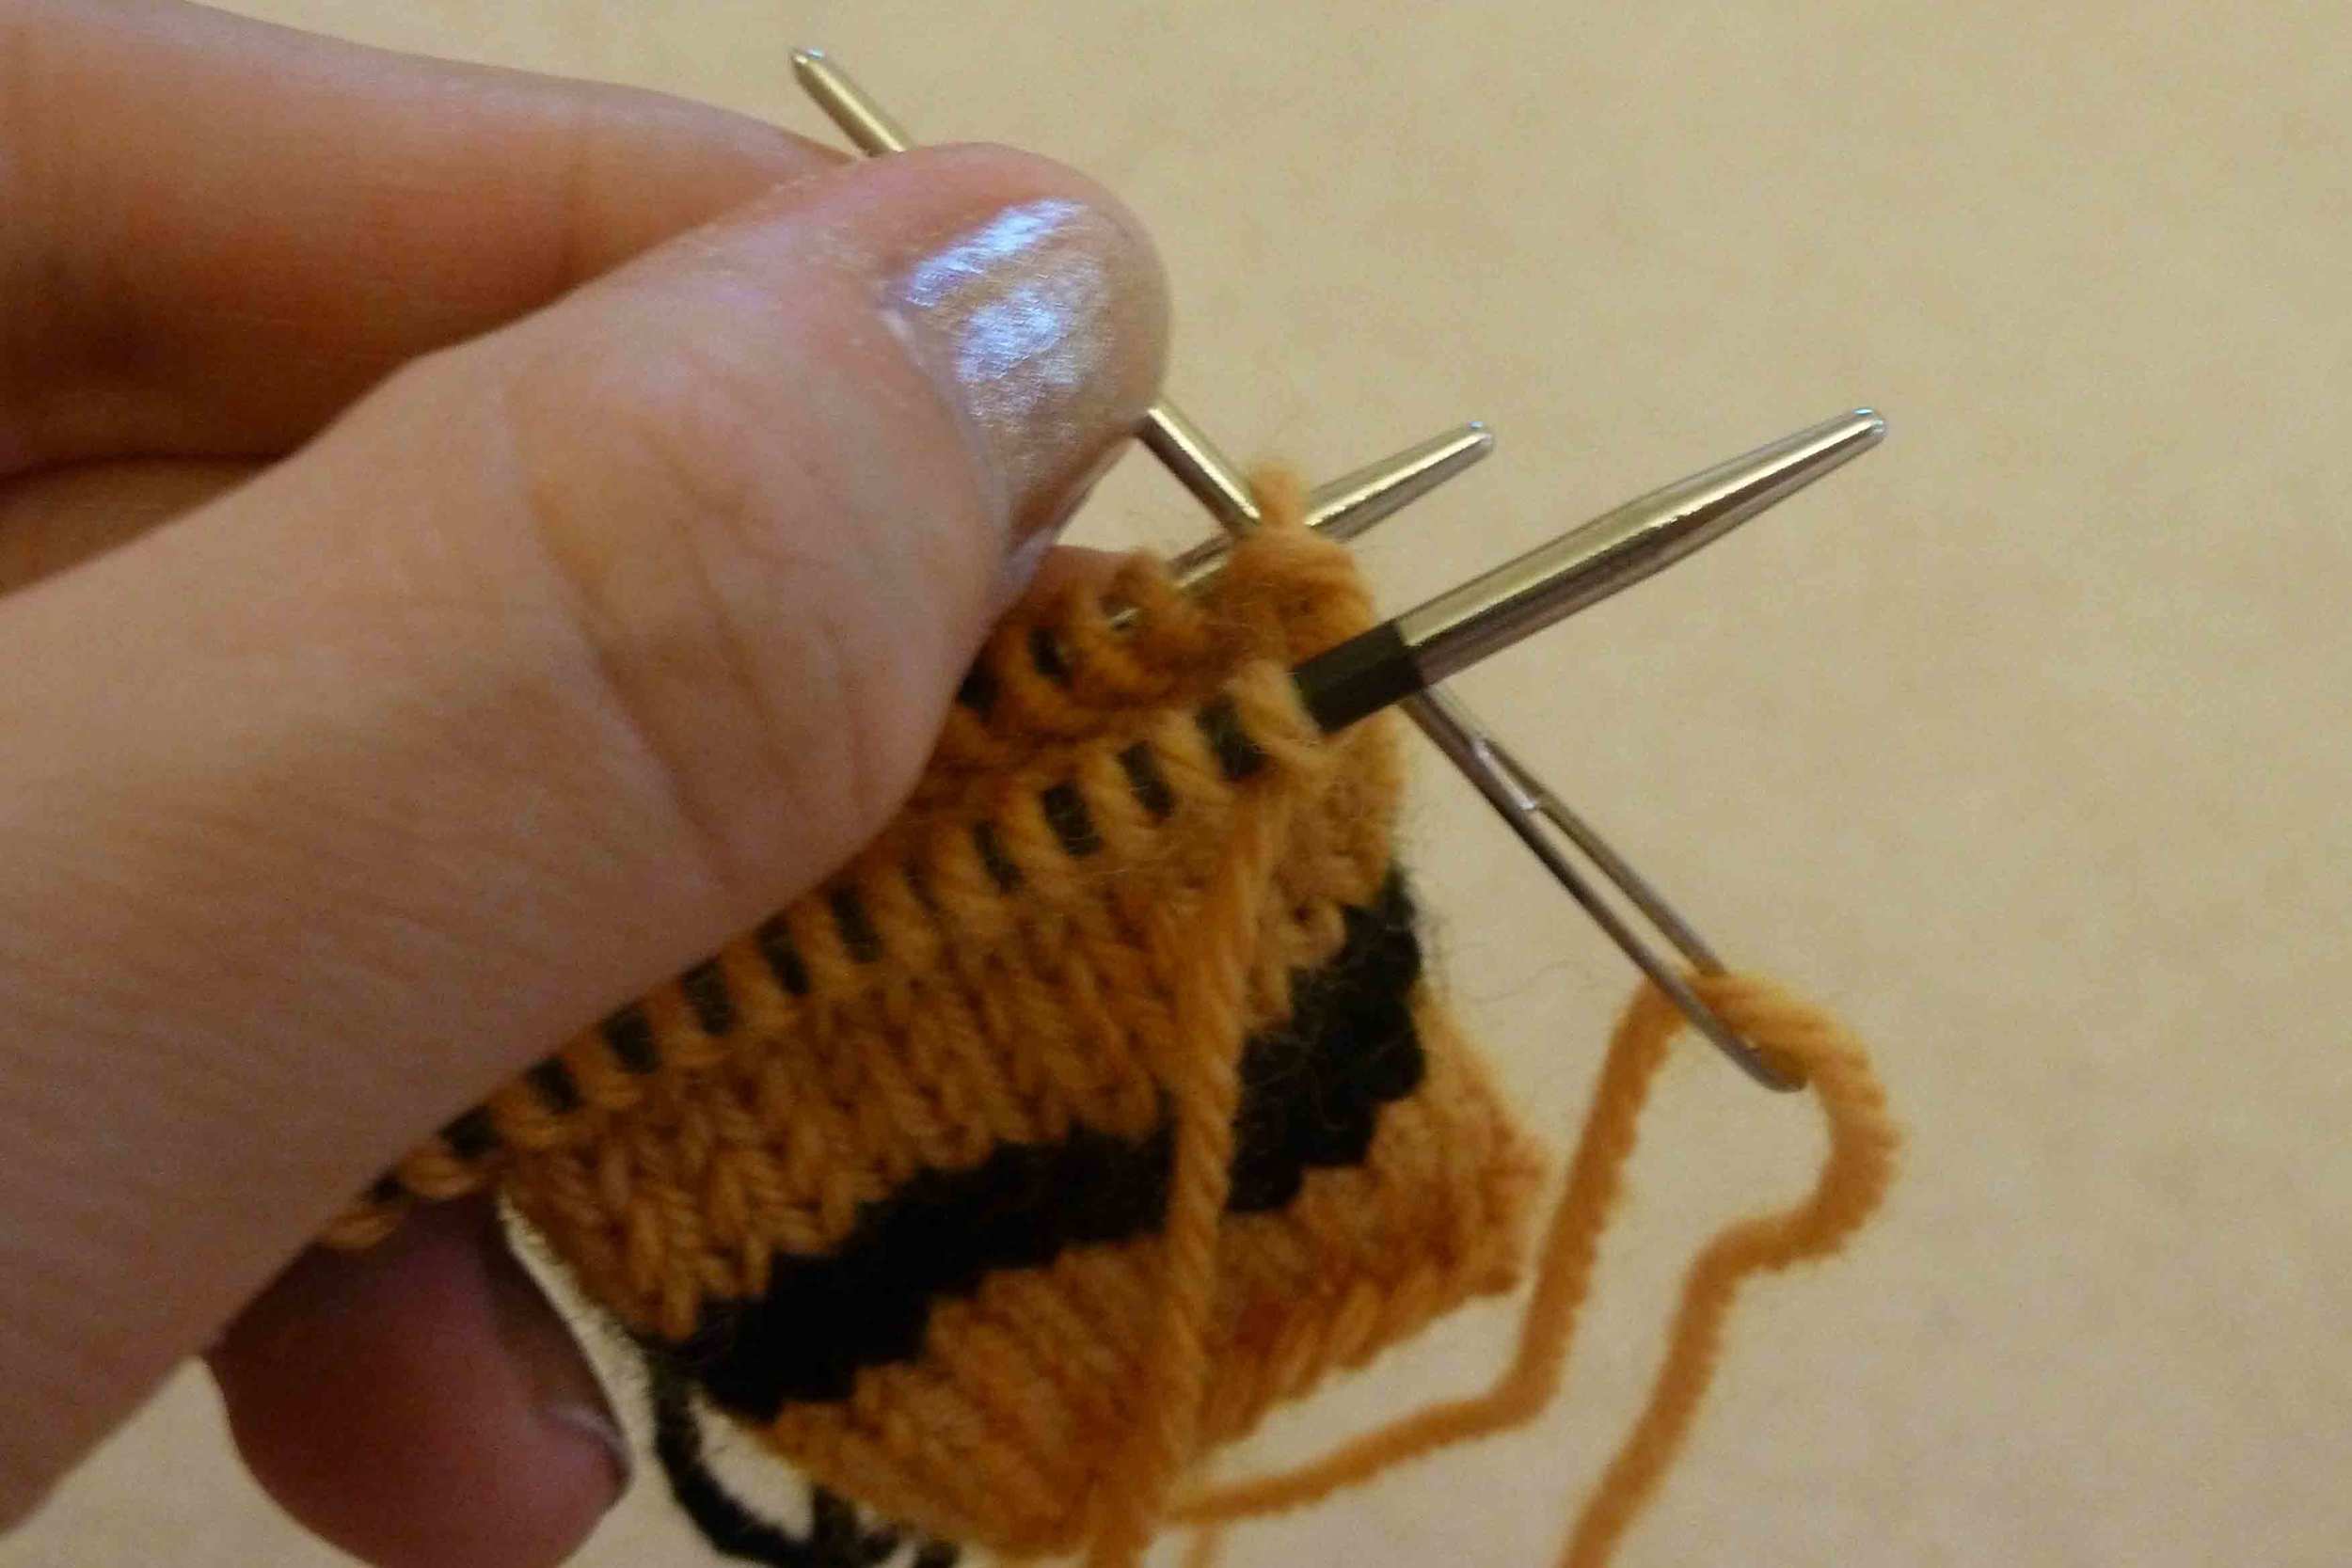
Step 3:
Next, insert the sewing needle into the first stitch on the back needle as if to knit it. Pull the yarn all the way through and leave that stitch on the needle.

The above 3 steps are preparatory and only need to be done once.
Kitchener Stitch
Now we are ready to graft the stitches together. This is the fun part! Do not pull the yarn through too tight on the next steps. It is easier to adjust the tension of the stitches when you have grafted a few together.
Step 1:
Insert the tapestry needle into the first stitch on the front needle as if to knit. Pull the yarn all the way through and then slip this stitch off the front needle.
Step 2:
Insert the tapestry needle into the next stitch on the front needle as if to purl. Pull the yarn all the way but this time leave the stitch on the front needle.

Step 3:
Now insert the tapestry needle into the first stitch on the back needle as if to purl. Pull the yarn all the way through and slip this stitch off the back needle.
Step 4:
Insert the tapestry needle into the next stitch on the back needle as if to knit. Pull the yarn all the way through but leave this stitch on the back needle.

Graft the next stitches together by repeating steps 1 to 4. After a few stitches have been grafted it is worth using the tapestry needle to tighten up the stitches so they are at the same tension as the stitches in the fabric being grafted.

Once you have grafted a few stitches it becomes quite rhythmic. I often remember the steps by counting: front knit off, front purl on, back purl off, back knit on - as in front needle knit the stitch and slip it off the needle, front needle purl the stitch but leave it on the needle etc.
Continue to graft the stitches together by repeating steps 1 to 4 until after step 4 only 1 stitch remains on both the front and back needle, then move to the finishing step.
Finishing steps
The finishing steps are similar to the preparatory steps in that they tighten up the edge stitches.
Step 1:
Insert the tapestry needle into the first stitch on the front needle as if to knit. Pull the yarn all the way through and then slip this stitch off the front needle.
Step 2:
Now insert the tapestry needle into the first stitch on the back needle as if to purl. Pull the yarn all the way through and slip this stitch off the back needle.
Finally, use the tapestry needle to adjust the tension of all the stitches to match the tension of the stocking stitch fabric, then weave in the yarn end.
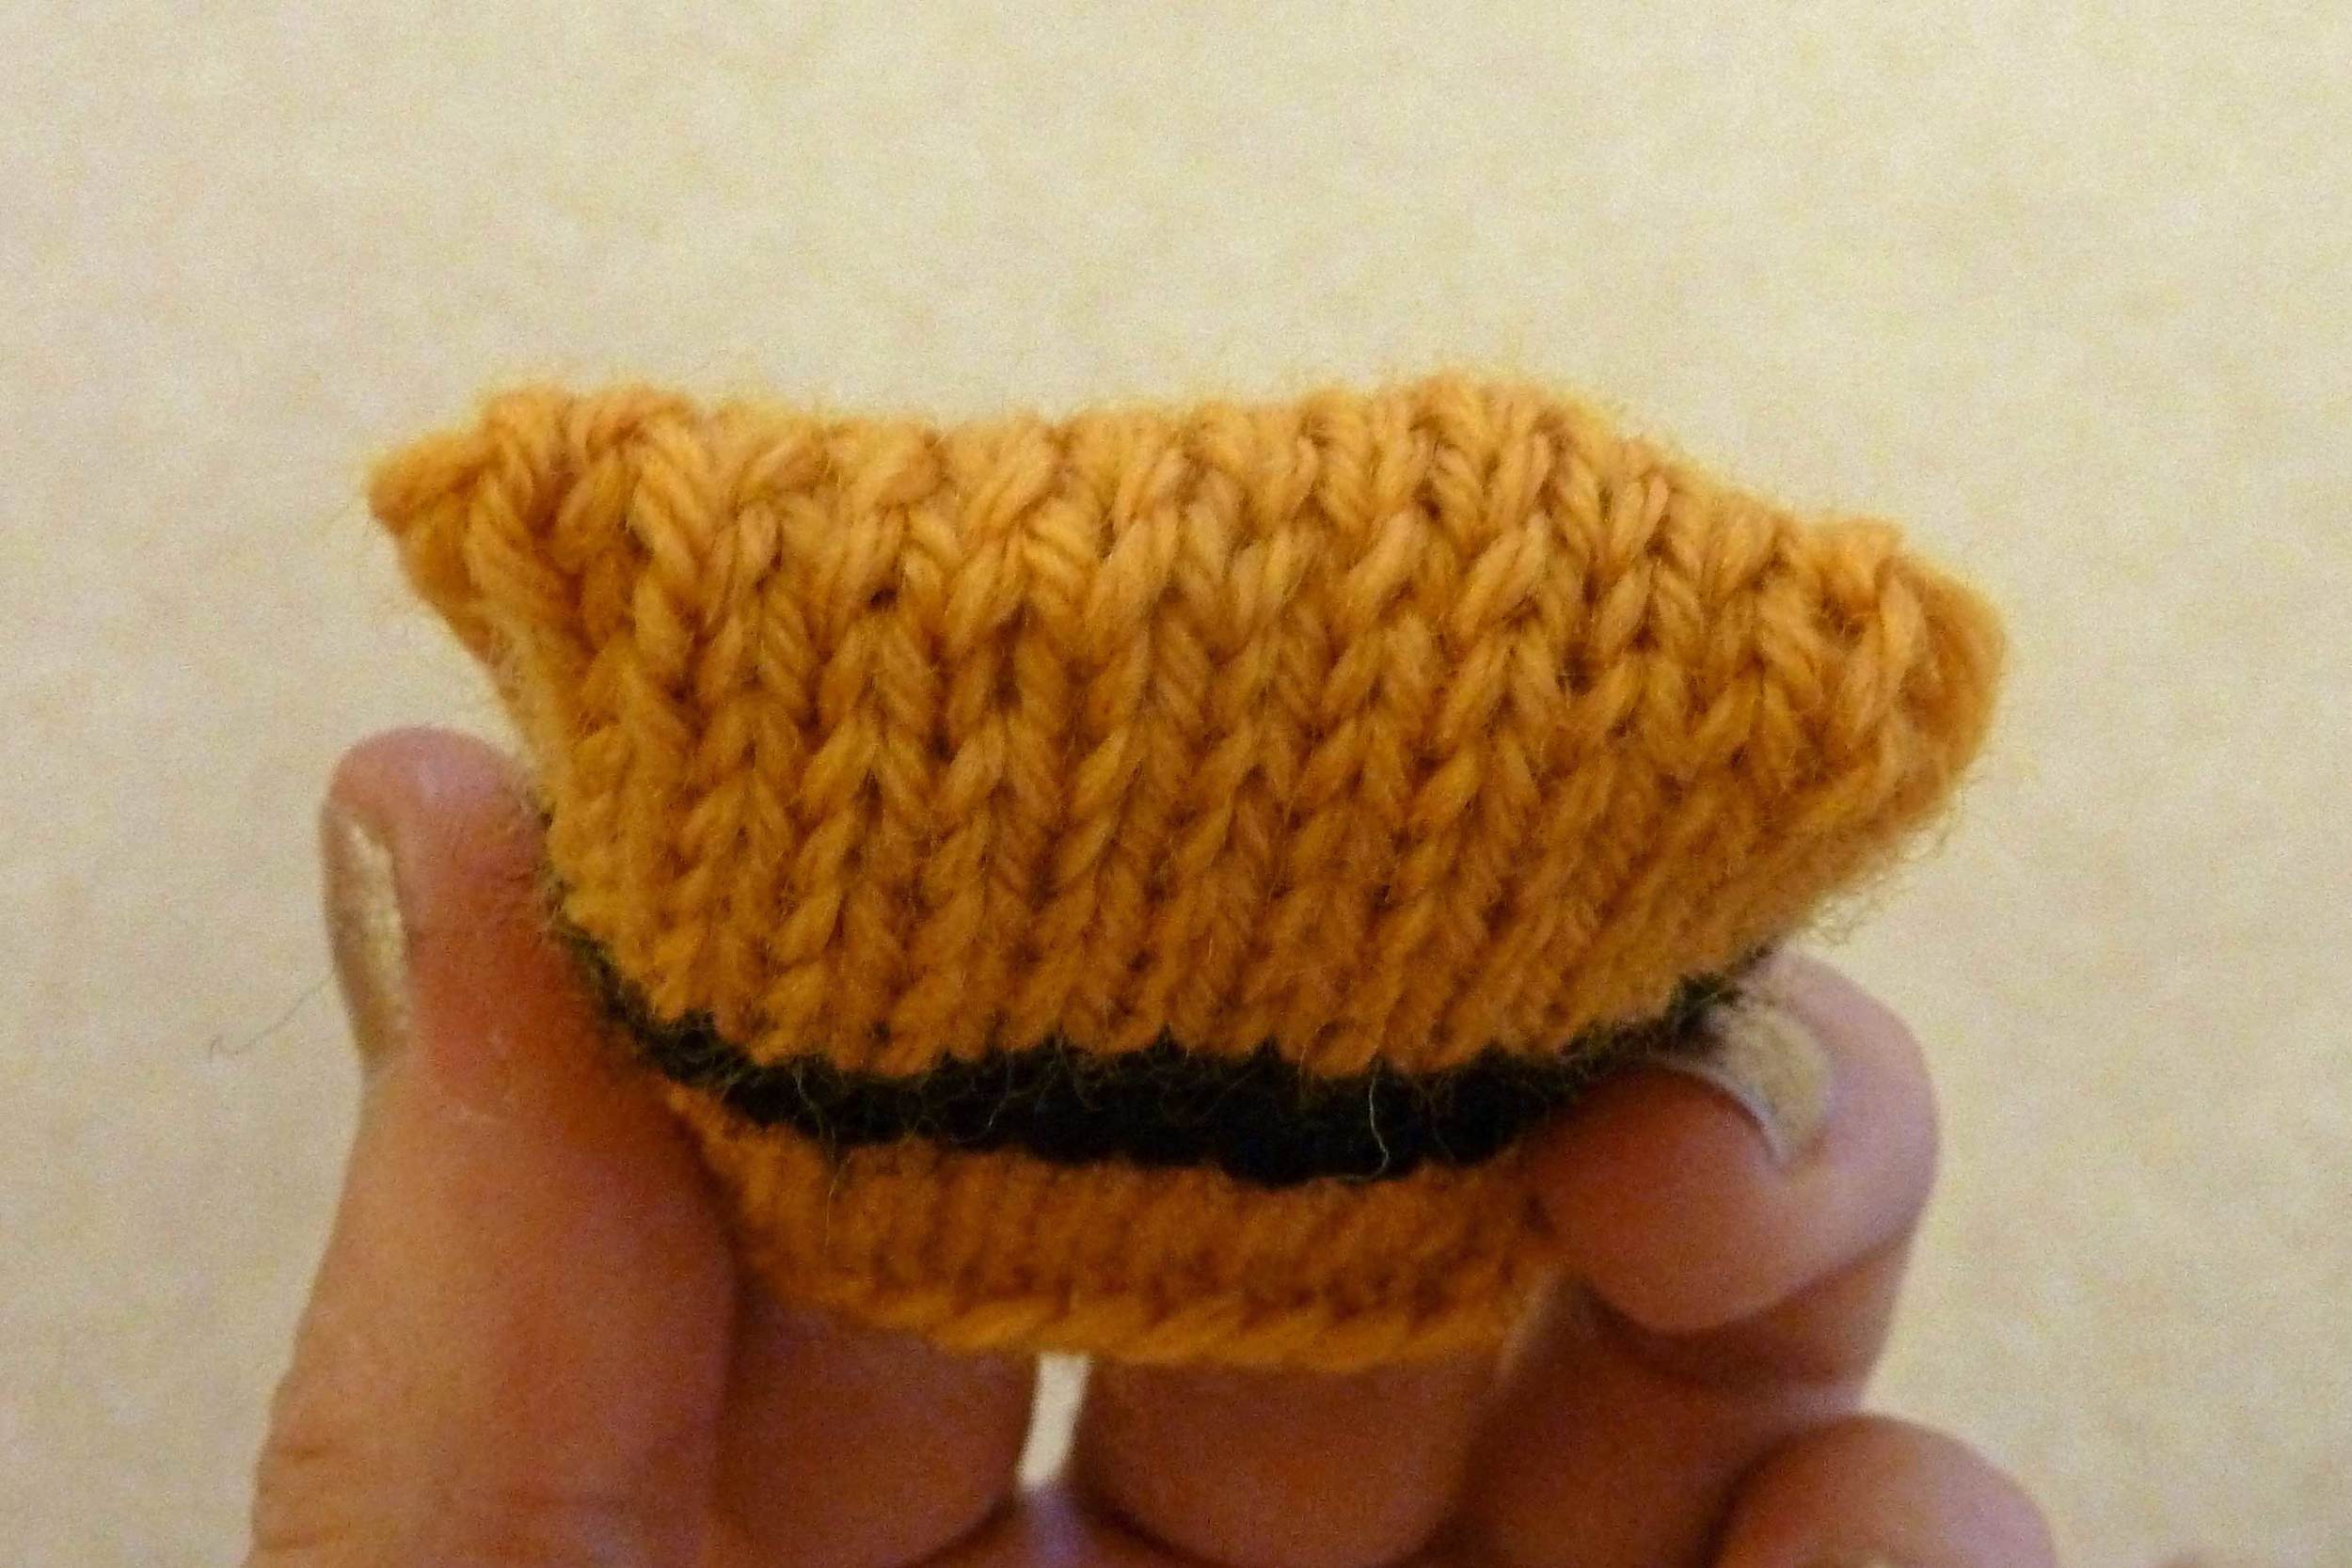
There you have it, a grafted stocking stitch fabric with no visible seam. I hope you enjoyed this tutorial. If there are any other techniques you would like help with please leave a comment.