Once you have grafted a few stitches it becomes quite rhythmic. I often remember the steps by counting: front knit off, front purl on, back purl off, back knit on - as in front needle knit the stitch and slip it off the needle, front needle purl the stitch but leave it on the needle etc.
Continue to graft the stitches together by repeating steps 1 to 4 until after step 4 only 1 stitch remains on both the front and back needle, then move to the finishing step.
Finishing steps
The finishing steps are similar to the preparatory steps in that they tighten up the edge stitches.
Step 1:
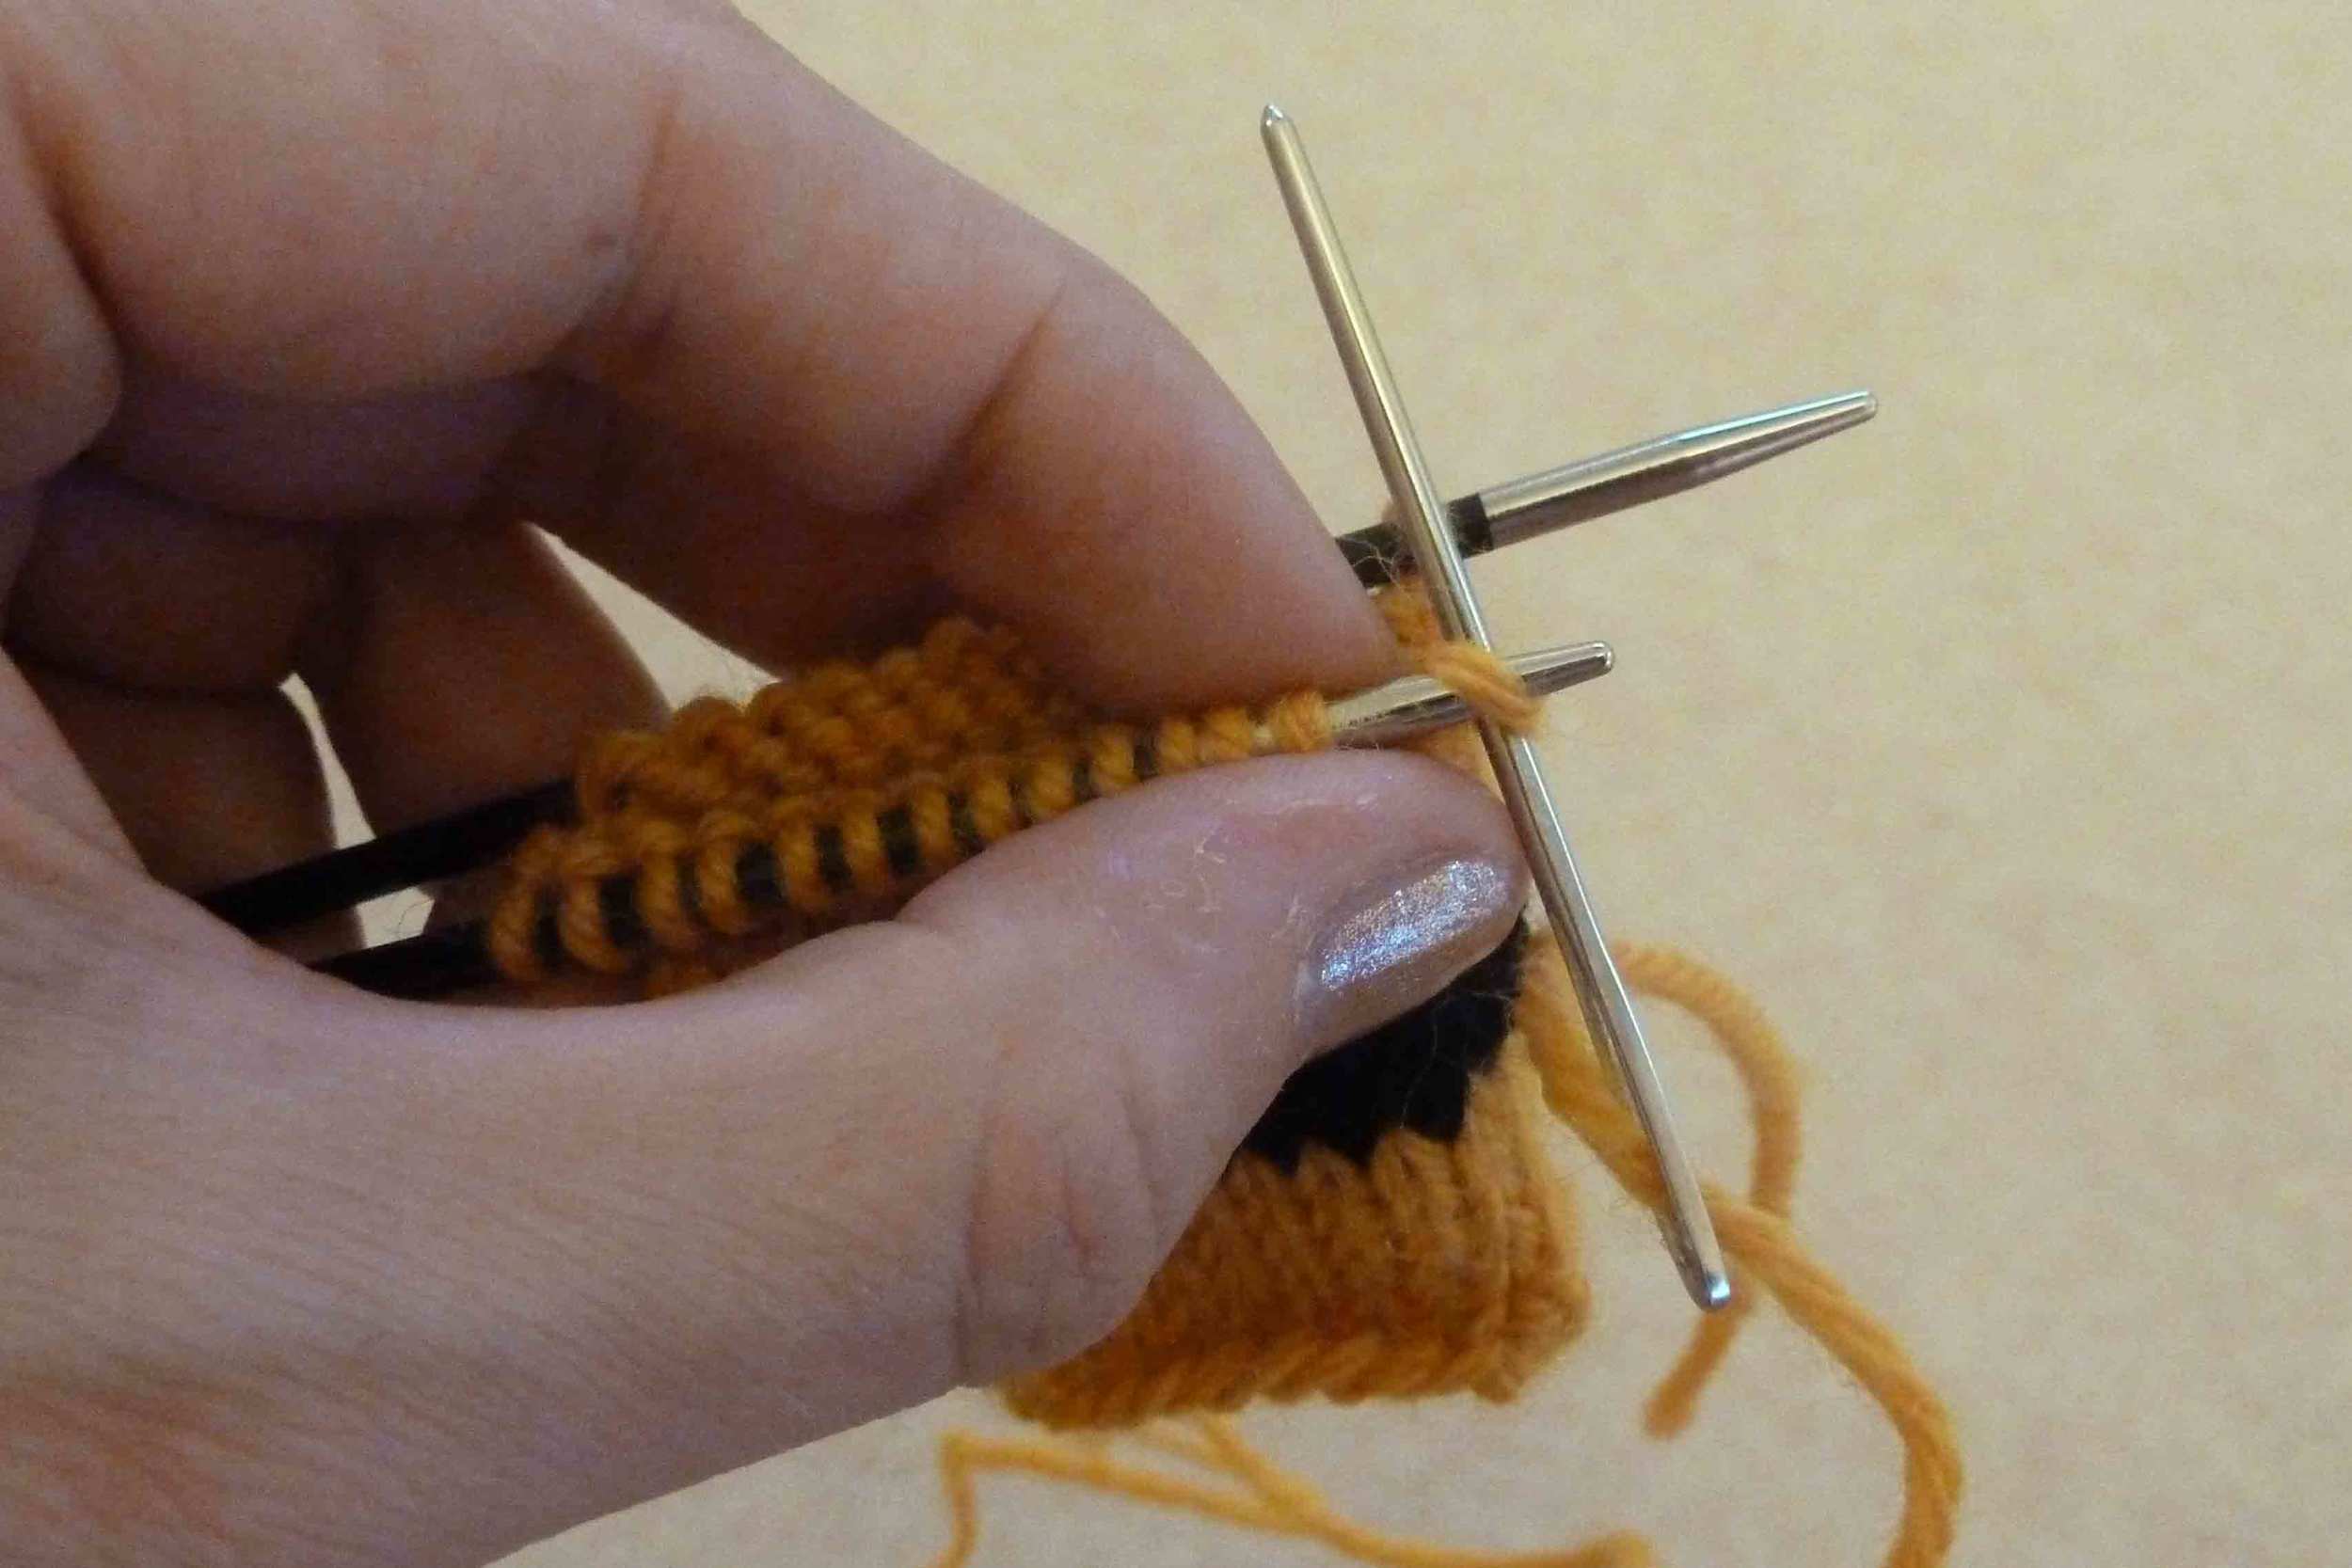
Insert the tapestry needle into the first stitch on the front needle as if to knit. Pull the yarn all the way through and then slip this stitch off the front needle.
Step 2:
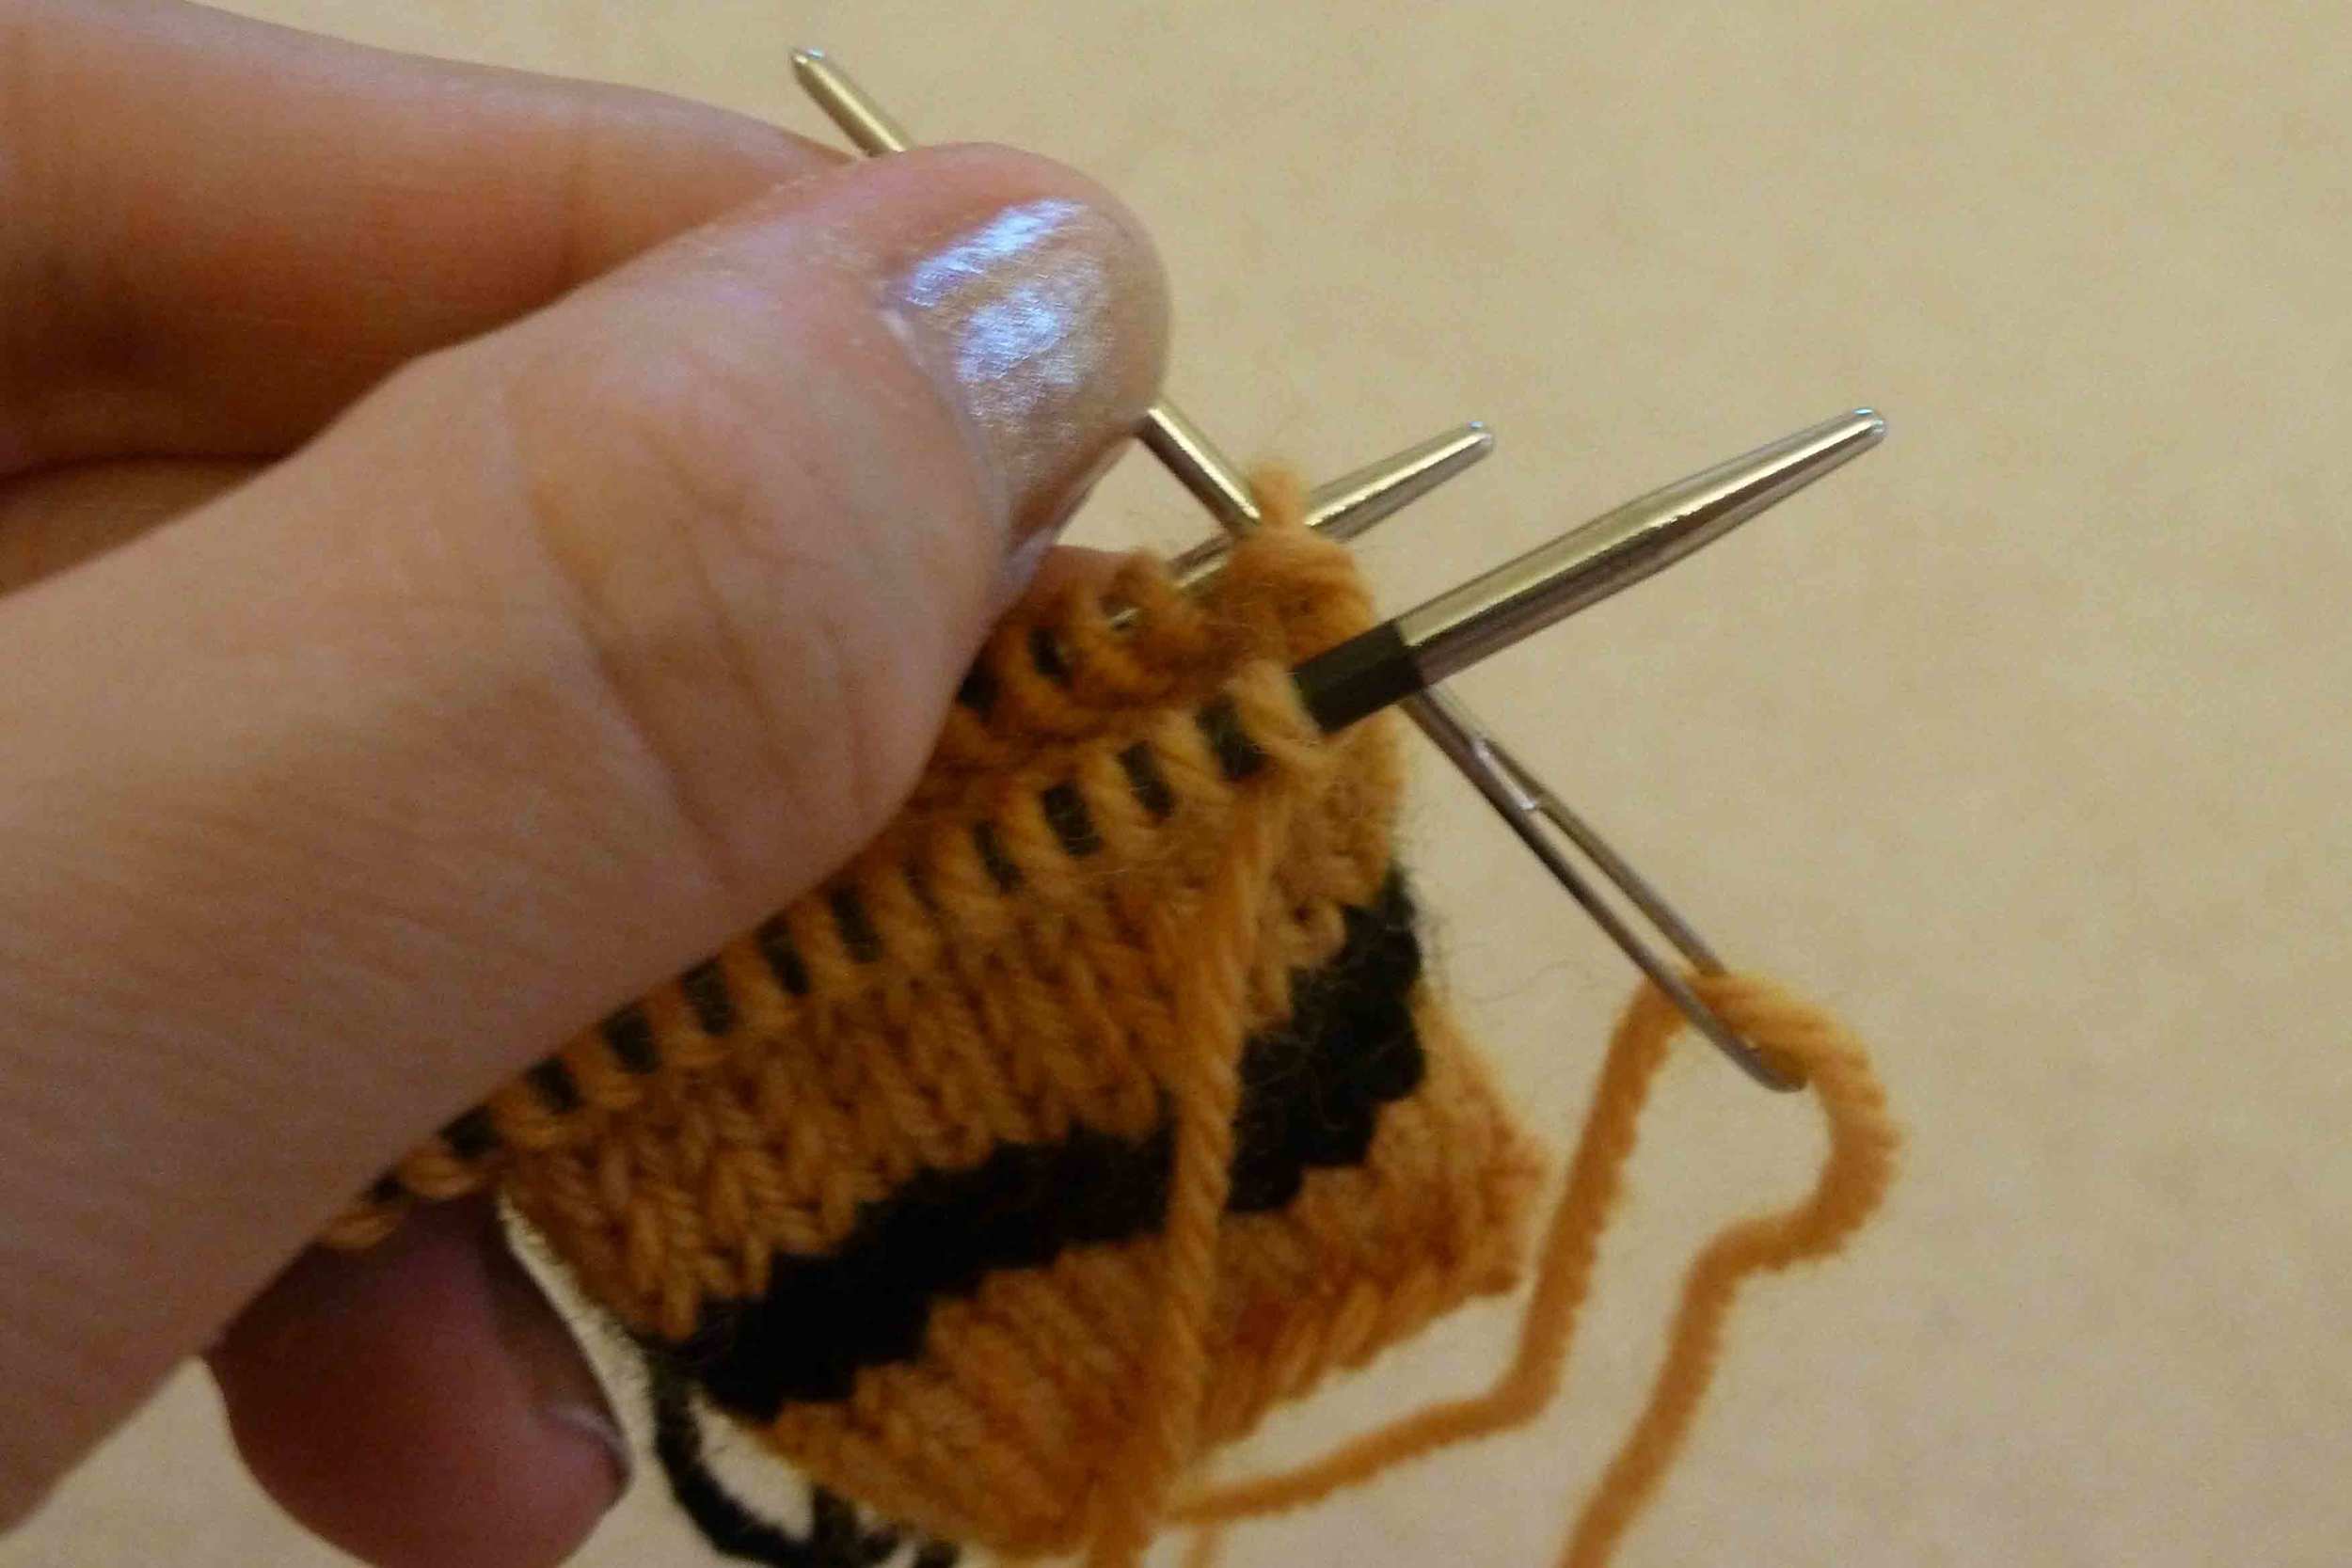
Now insert the tapestry needle into the first stitch on the back needle as if to purl. Pull the yarn all the way through and slip this stitch off the back needle.
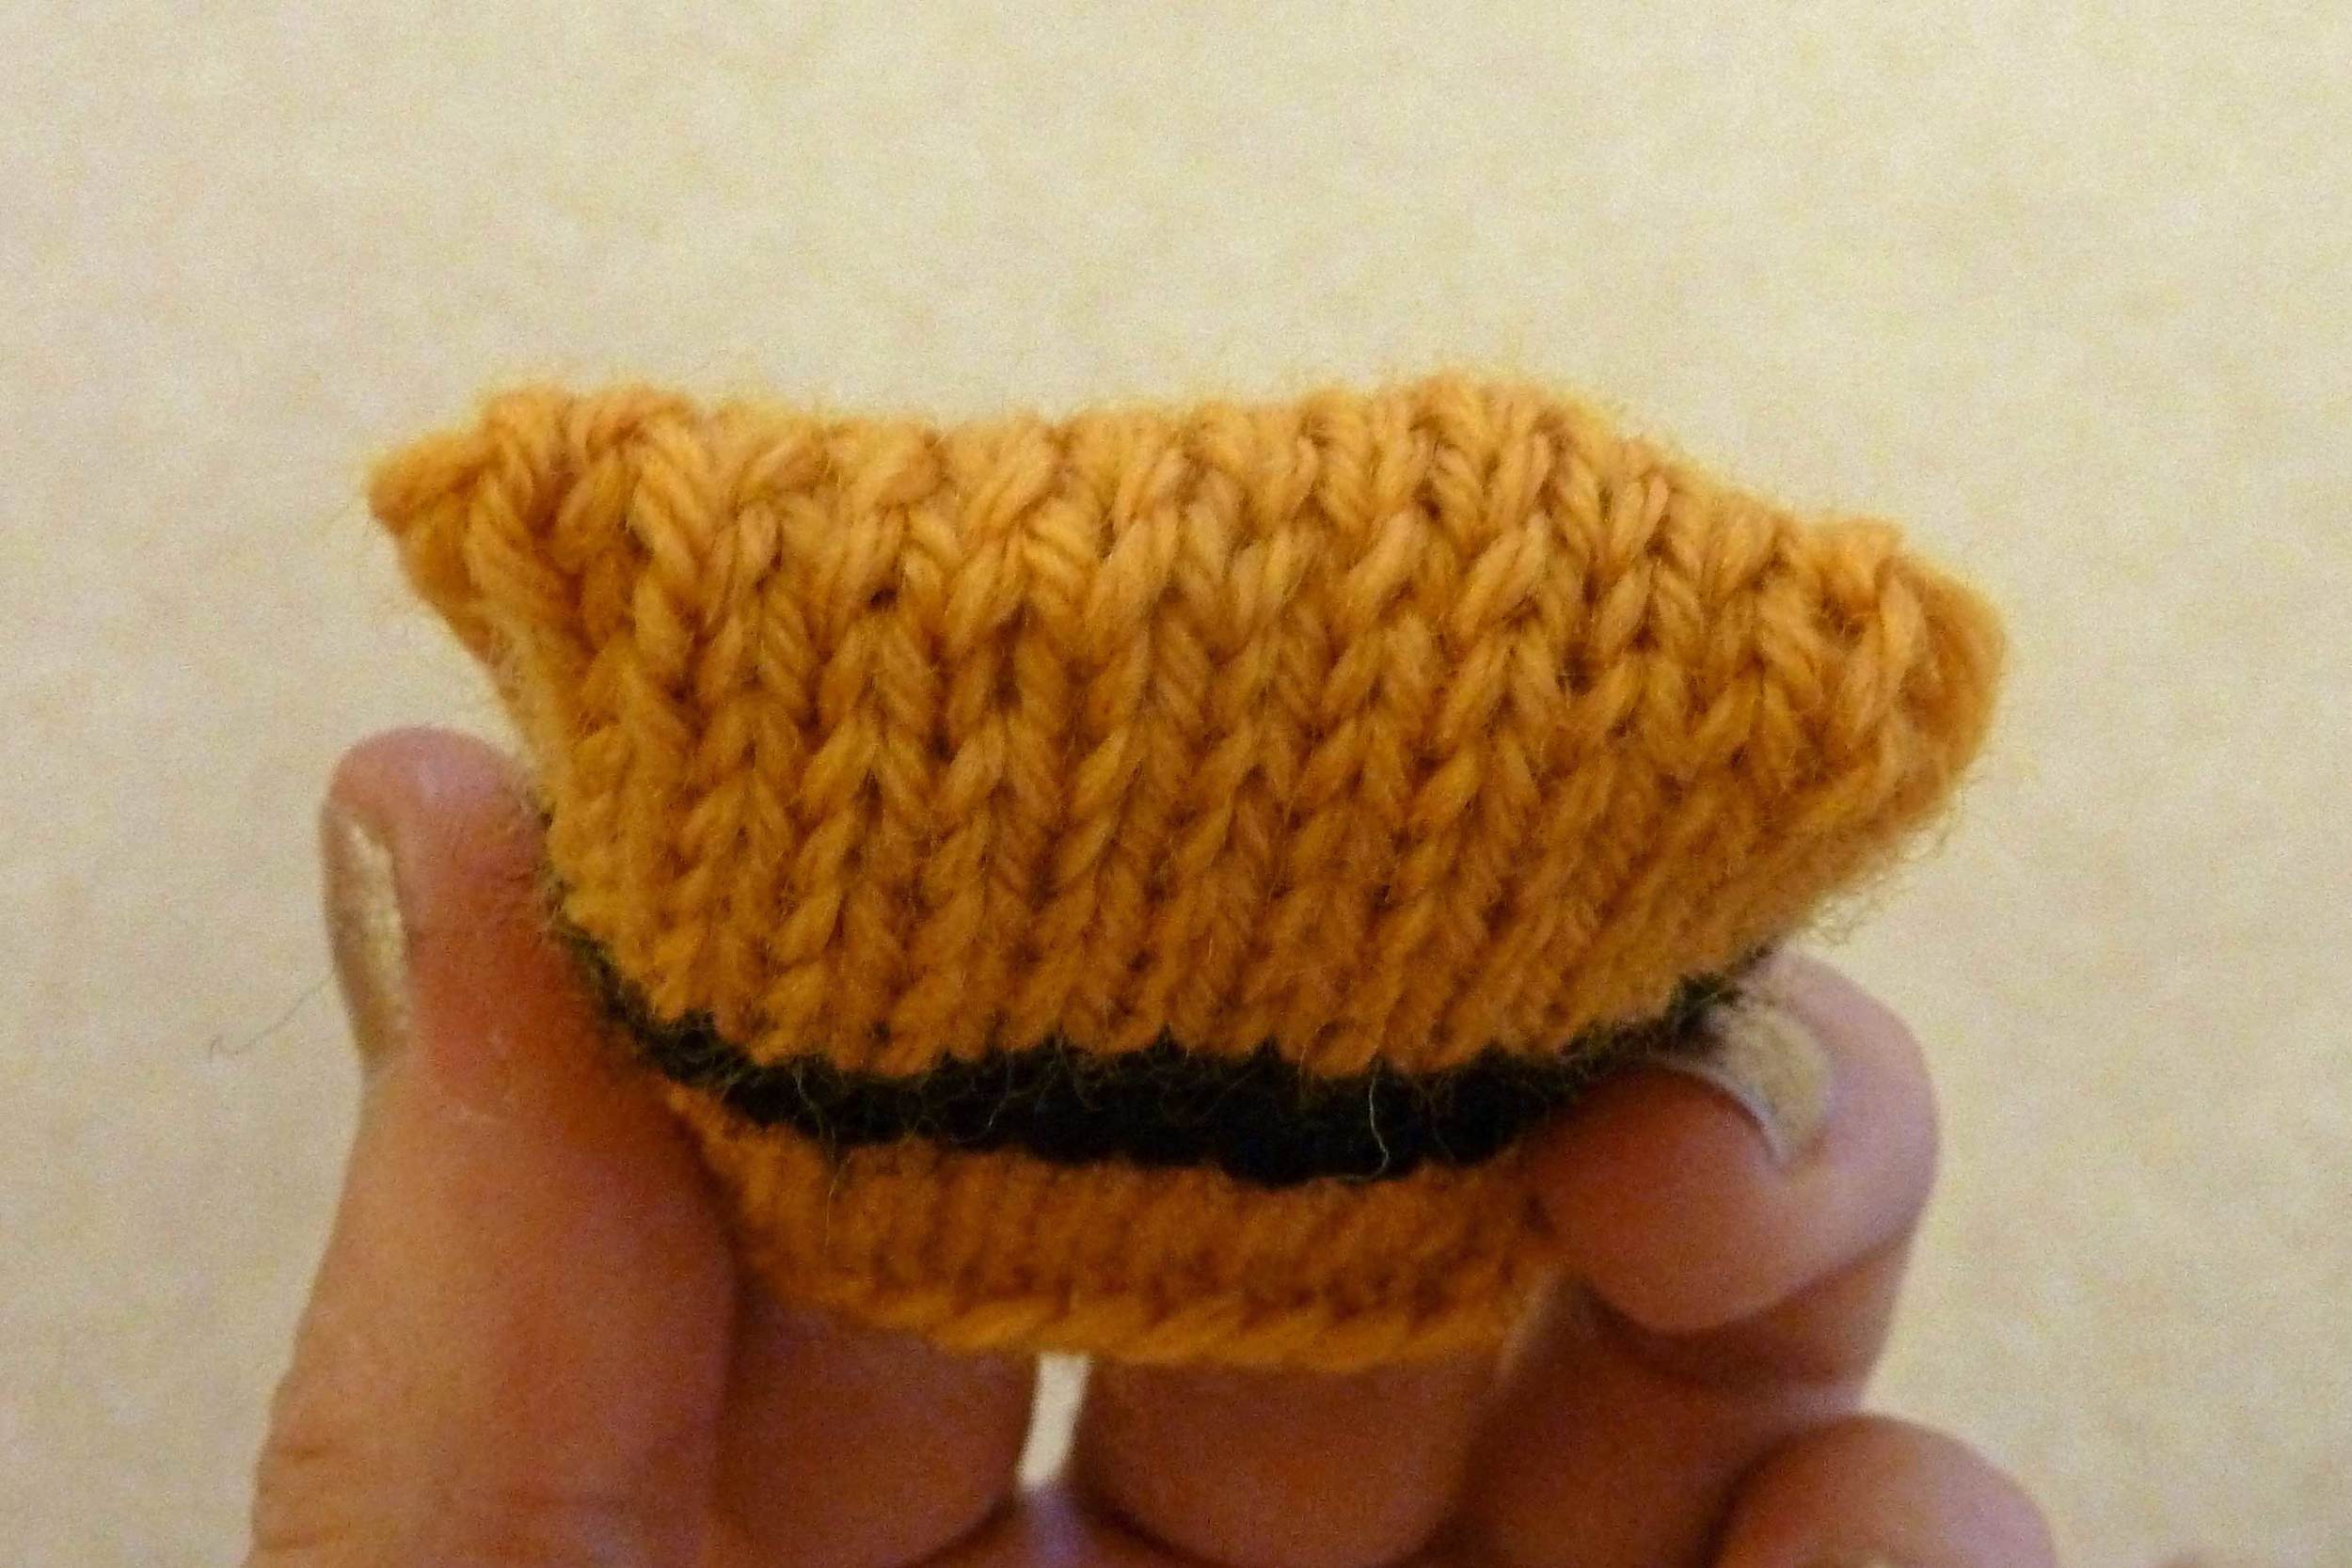
Finally, use the tapestry needle to adjust the tension of all the stitches to match the tension of the stocking stitch fabric, then weave in the yarn end.